I explain how to assemble and operate Juno's Spinner using dodecahedron model.
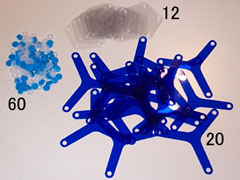 |
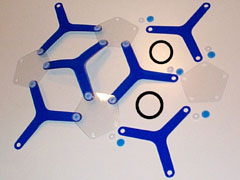
The parts of the Juno's Spiner are in the left. There are 12 outer elements (clear), 20 inner elements and 60 sets of rotational joints. |
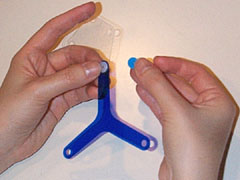 |
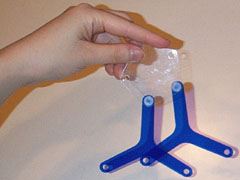
Pile up the element of two sheets and join together by rotational joint. A clear element should always be placed outside of model. |
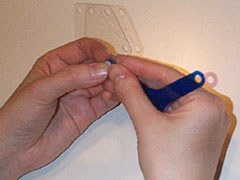 |
Assemble them in the state of being easy to hold elements. |
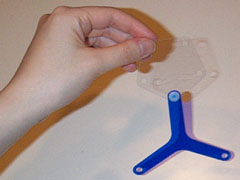 |
Check whether an element moves smoothly. A clear element is in front of a blue element. |
 |
Add an element in the same way. |
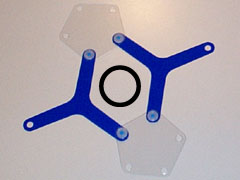 |
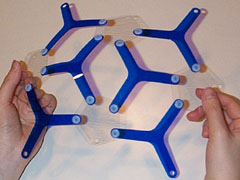
This photograph shows combined four sheets of elements. Please direct your attention that four elements are forming one loop. |
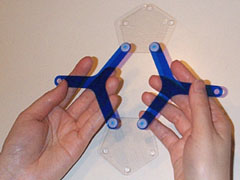 |
You may understand the principle of transformation by operating a small number of element.. |
 |
Always be conscious of making a loop with four sheets of elements. |
 |
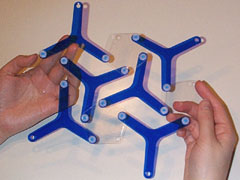
Four elements are surrounding a circle. |
 |
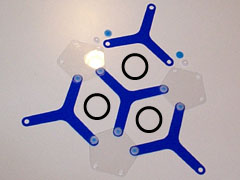
If model is extended, it turns out easily which next should be connected. |
 |
|
 |
If you move model little bit, it tends to become flat automatically. |
 |
|
 |
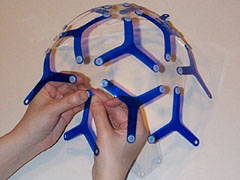
Assemble model where it extended as much as possible. |
 |
Look for the place where one loop will be formed if one element is added. Then, assemble this part you found. |
 |
|
 |
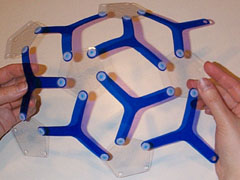
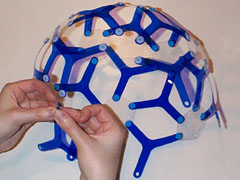
We had assembled half of the model. |
 |
|
 |
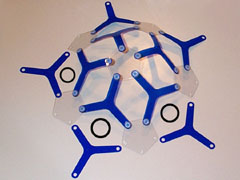
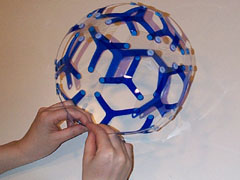
Don't get the top and bottom of elements mixed up. |
 |
|
 |
|
 |
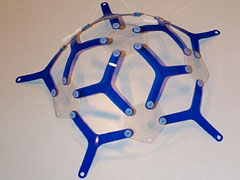
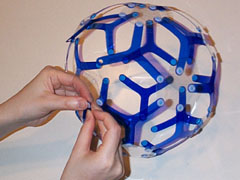
Almost finished. |
 |
|
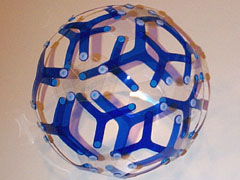 |
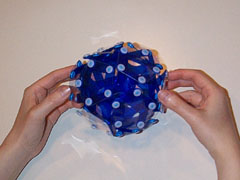
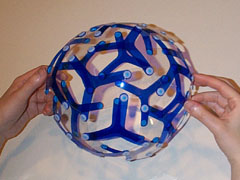
Finished. |
 |
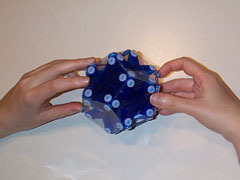
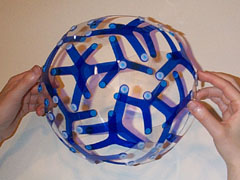
When you shrink Juno's Spinner, bounce it in your hands gently. If you made mistake at top and bottom of elements, you wouldn't shrink it. |
 |
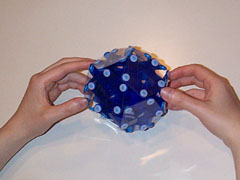
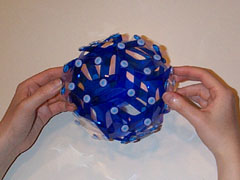
When you expand Juno's Spinner, hold opposite sides of outer elements. |
 |
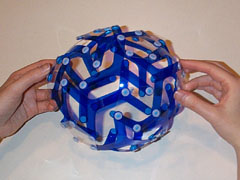
Move your each hands away. |
 |
|
 |
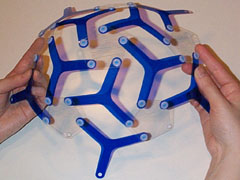
Twist your hands leave rotation of elements. |
 |
|
 |
|
 |
|
 |
|
 |
|
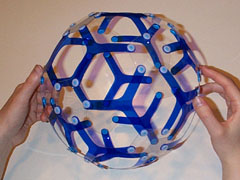 |
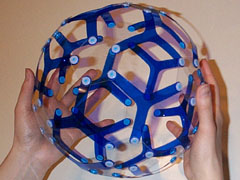
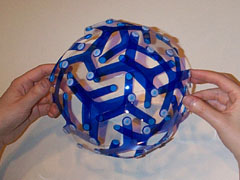
Left picture shows completely expanded Juno's Spinner. You can expand Juno's Spinner make use of centrifugal force too. |